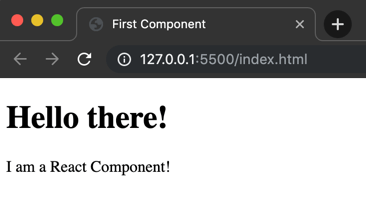
In the previous example you have seen how react basically works. In this example you will see how react works with multiple components.
index.html
<!DOCTYPE html>
<html lang="en">

<head>
  <meta charset="UTF-8">
  <meta name="viewport" content="width=device-width, initial-scale=1.0">
  <meta http-equiv="X-UA-Compatible" content="ie=edge">
  <title>App Layout Demo</title>
</head>

<body>
  <div id="root"></div>
  <script src="https://unpkg.com/react/umd/react.development.js"></script>
  <script src="https://unpkg.com/react-dom/umd/react-dom.development.js"></script>

  <script src="https://unpkg.com/babel-standalone"></script>

  <script src="Hello.js" type="text/jsx"></script>
  <script src="NumPicker.js" type="text/jsx"></script>
  <script src="index.js" type="text/jsx"></script>

</body>

</html>
Hello.js
class Hello extends React.Component {
  render() {
    return <h1>Hello There!!!</h1>
  }
}
NumPicker.js
function getNum() {
return Math.floor(Math.random() * 10) + 1;
}
class NumPicker extends React.Component {
render() {
const num = getNum();
let msg;
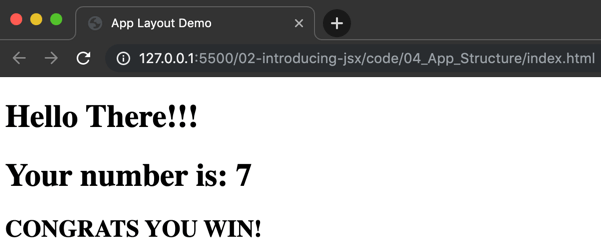
if (num === 7) {
msg = <h2>CONGRATS YOU WIN!</h2>
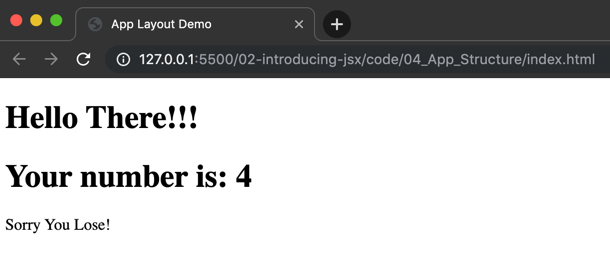
} else {
msg = <p>Sorry, you lose!</p>
}
return (
<div>
<h1>Your number is: {num} </h1>
{msg}
</div>
);
}
}index.js
class App extends React.Component {
  render() {
    return (
      <div>
        <Hello />
        <NumPicker />
      </div>
    )
  }
}

ReactDOM.render(<App />, document.getElementById('root'));
The start of everything is the last line in the index.js
In this line the component <App /> will be rendered into the element with the id “root”.
The component <App /> has multiple components, which are <Hello /> as well as <NumPicker />. These components have to be defined before they are rendered. Thats why the order in which the JS files are placed in the index.html is important.
With that you get the output:
Or with the number 7: